Samba is wonderful open-source software that allows users implementation of SMB/CIFS protocol. This protocol enables the PCs on the network to share their files. With Samba servers, Ubuntu users can enable file and printer sharing for Windows and other Ubuntu users. This brief tutorial will give you insight to install Ubuntu Samba server for file sharing.
Install Ubuntu Samba Server for File Sharing
Run the commands below in Terminal for installing Samba in Ubuntu.
“sudo apt-get install samba system-config-samba cifs-utils”
The Ubuntu servers can install Samba by using this command:
“sudo apt-get install samba samba-common”
Configuring Samba in Ubuntu
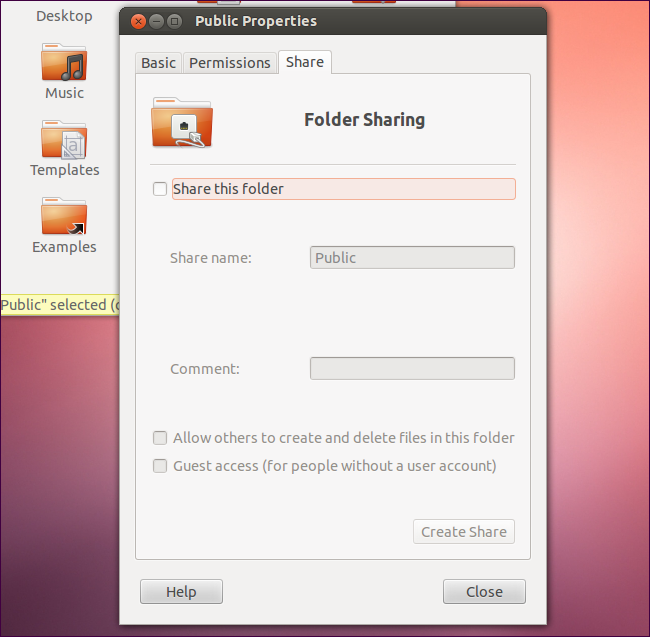
Once you have installed Samba, the main configure file is placed at /etc/Samba/smb.conf. By using the command terminal, you can easily configure the list of settings into the file that will enable you sharing and accessing features with other Windows and Ubuntu PCs.
On the desktop PC, you need to open Unity Dash and then search for Samba app. The app offers a simple and easy way for managing settings in the smb.conf file if the command terminal is difficult to manage.
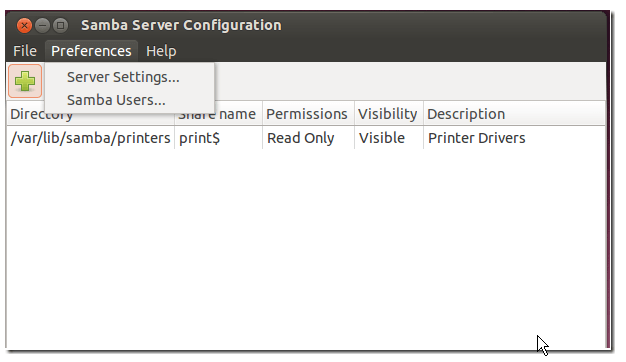
If you desire configuring advanced settings, you must use the command line for editing the smb.conf file. This is because System-Config-Samba tools don’t contain advanced features for managing advanced Samba configurations.
If your Samba app doesn’t open in Dash, you need to run the command provided below for installing additional support tools for Samba.
“sudo apt-get install python-glade2”
You must be able to install and configure Ubuntu Samba server for file sharing after using the methods suggested in this article.